source: www.youthwork-practice.com | 2000 Games, Devotions, Themes, Ideas and more for Youth Work
only for private using
Missile base Cosmo Ronnie C. R.
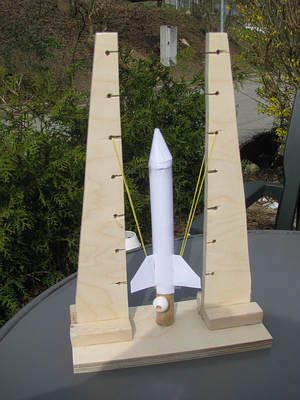
The question what’s going to happen in the next youth group afternoon seems to be solved: A really cool rocket launch pad.
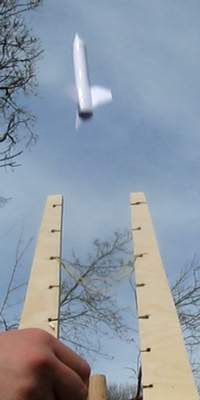
The principle of this rocket is simply the energy that was stored in the rubber band when it was fastened. When you set it free by pulling the pin, the rocket is catapulted upwards.
You can use different rubber bands and also can try to use more than just one rubber band. A hit without any question!
Building the rocket:
-
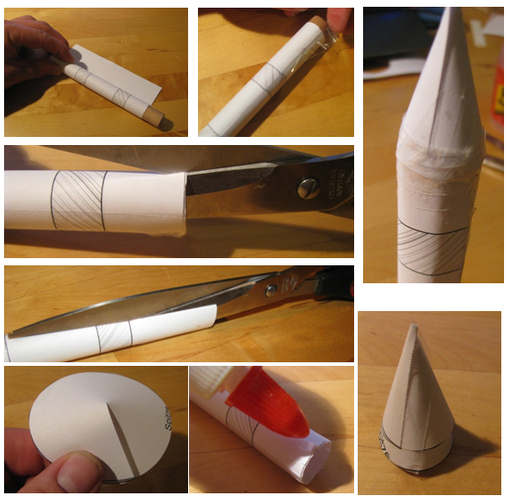
Print off or transfer the template on a thicker sort of paper and cut it out.
-
Glue the rocket to a round piece of wood (20 mm diameter) and secure with an adhesive tape.
-
At the top of the rocket make a lot of cuts in a 4mm spacing.
-
The bottom of the rocket cut 3 times right up to the border
-
Roll up the bottom and secure it with an adhesive tape.
-
Now put the round wood back into the rocket and put on the top. Secure it all with an adhesive tape.
-
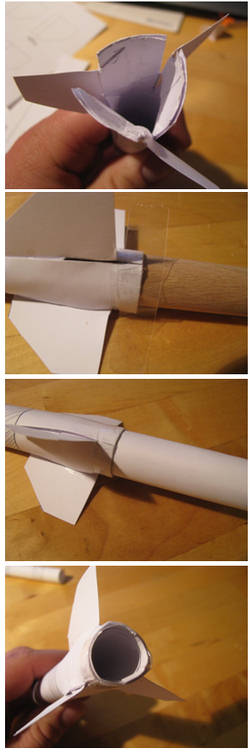
Glue the wings inside the rocket
-
Put the round wood back into the rocket and secure it with an adhesive tape. The wing too can be secured with an adhesive tape.
-
Put another piece of adhesive tape here.
-
Glue the support rollers, and stick them with an adhesive tape in the rocket.
The rocket must be built really well. Otherwise, it will fly left or right straight after the start without gaining any height. Therefore, it is important to install the rudders correctly and straight.
You also should use the original Tesafilm and not a cheap adhesive. Otherwise, your rocket won’t climb properly. The same applies to the liquid adhesive, always use Uhu or Tesa without any solvents.
Building the launch pad:
-
Transfer the mass on the wooden board, cut it out, then sand it back.
-
Exactly in the middle of you base drill a hole with a 20mm diameter.
-
The 4 bars (C), are 50 mm long, 15 mm high and 15 mm wide.
-
The first two bars (C) glued to the base (B) with hot glue. Of course, all parts can be screwed or dowelled as well.
-
The two side parts A stick to the base B and glue to the bars C.
-
From behind glue the other two bars to the side panels A and B as well as to the base plate.
-
Building the trigger mechanism D (see below), secure it with a wooden dowel and hot glue on the base plate B.
-
If you want, you could paint it.
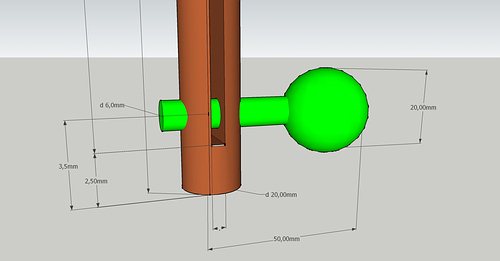
Now build the trigger mechanism (D):
The heart of the ramp is the trigger mechanism. It consists of a round piece of wood with 20mm diameter and 74mm length. You need to cut out a slot of 50mm length and 5mm width. Make sure that you sand this slot back until it is really smooth. Otherwise, it will break soon and also you will lose a lot of energy to the friction. Therefore, the effort is really worth it.
Drill a hole at 2,5mm with a diameter of 7mm, in which you stick the round wood with a diameter of 6mm with a wooden ball as the rocket head. All measurements from the 4mm (yellow) edge; you keep adding 4mm.
The piece of round wood is pulled out with the wooden ball, which in turn tenses the rubber band. The finished round wood then is glued to the base into a pre-drilled hole. (Yellow area 4mm).
You can see it better on the cutting:
Now have fun with this great rocket!
Youtoube Raketenvideo © by. Ronnie Berzins.
Send in from Ronnie Berzins
[ © www.youthwork-practice.com | 2000 Games and Ideas for Youth Work ]


